
Blog
Arduino Irrigation System Guide
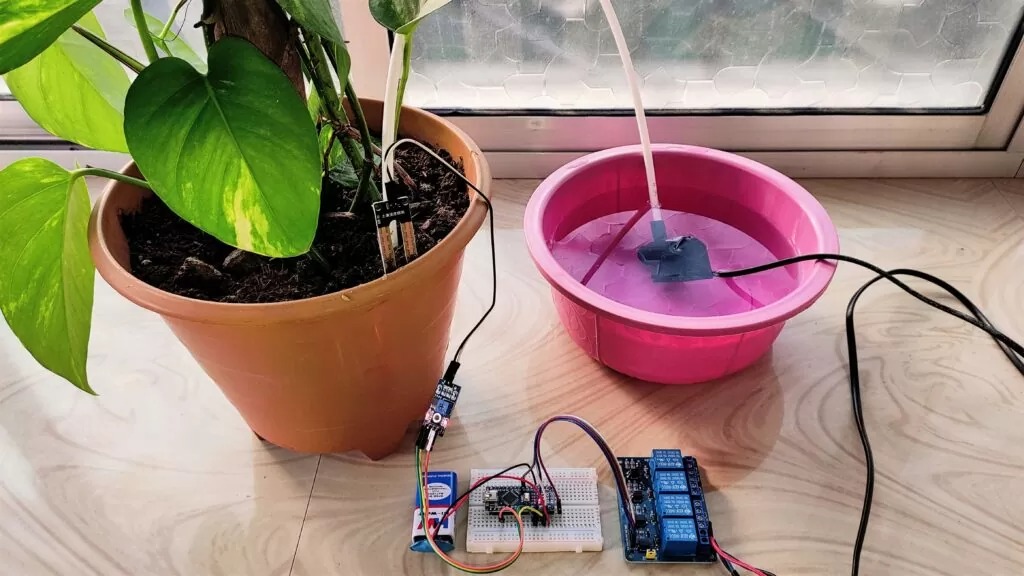
Components Needed:
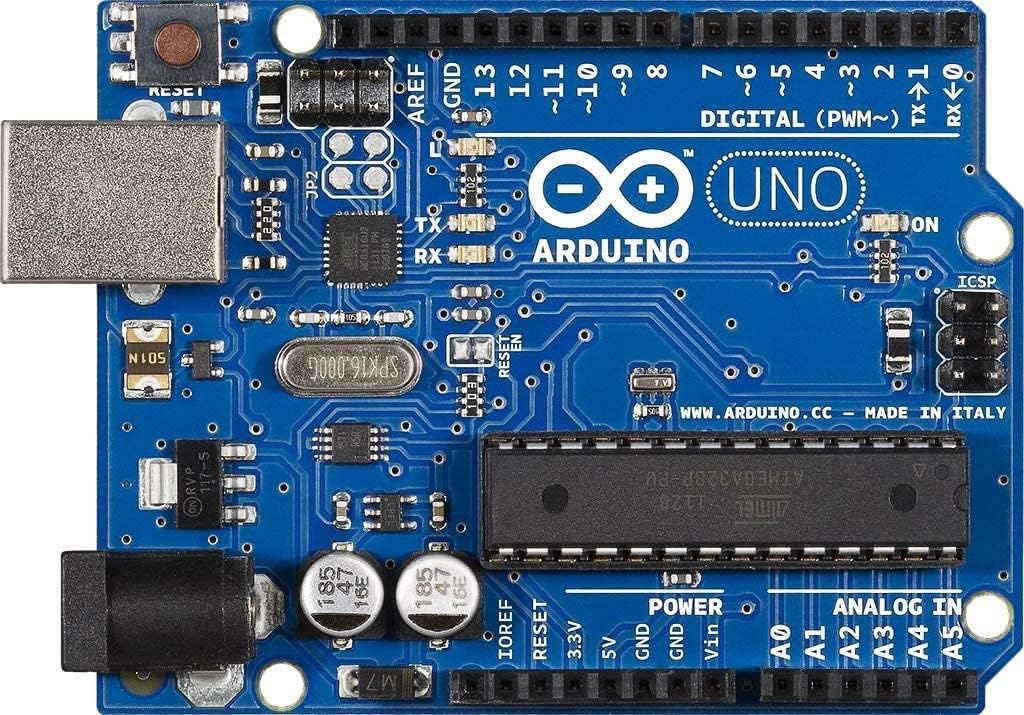
- Arduino board (e.g., Arduino Uno)
- Soil moisture sensor
- Water pump or solenoid valve
- Relay module (if using a high-power water pump)
- Peristaltic pump (optional, for precise water delivery)
- Water reservoir
- Tubing and connectors
- Power supply
- Breadboard and jumper wires
- Enclosure (optional)
Steps to Build:
- Setup Arduino: Start by setting up your Arduino board. Install the Arduino IDE on your computer if you haven’t already, and connect the Arduino board to your computer using a USB cable.
- Connect Soil Moisture Sensor: Connect the soil moisture sensor to the Arduino board. Typically, these sensors have three pins – VCC, GND, and an analog or digital output pin. Connect VCC to 5V on the Arduino, GND to GND, and the output pin to any of the analog or digital pins on the Arduino.
- Connect Water Pump or Solenoid Valve: If you’re using a water pump, connect it to a relay module, and then connect the relay module to the Arduino. Solenoid valves can be directly controlled by the Arduino’s digital pins.
- Program the Arduino: Write a program (sketch) for the Arduino using the Arduino IDE. The program should read the soil moisture level from the sensor and activate the water pump or solenoid valve when the soil moisture drops below a certain threshold.
- Calibrate Soil Moisture Sensor: Calibrate the soil moisture sensor by taking readings from dry and wet soil to determine the appropriate threshold for watering.
- Optional: Peristaltic Pump for Precise Watering: If you want precise control over water delivery, you can use a peristaltic pump instead of a traditional water pump. Connect the peristaltic pump to the Arduino and control its speed to adjust the water flow rate.
- Assemble the System: Assemble the components of the irrigation system, including the water reservoir, tubing, and connectors. Place the soil moisture sensor in the soil of your plant pot or garden bed.
- Power Up and Test: Power up the Arduino and test the system. Make sure the soil moisture sensor is accurately detecting soil moisture levels and that the water pump or solenoid valve is activating correctly.
- Fine-tune and Monitor: Fine-tune your program as needed based on how your plants respond to watering. Monitor the system regularly to ensure proper functioning.
- Enclose (Optional): If desired, enclose the Arduino and other electronic components in a protective enclosure to shield them from environmental elements.
Remember to prioritize safety when working with electronics and water. Ensure proper insulation and waterproofing where necessary, and use appropriate power sources and connectors. With careful planning and implementation, you can create an effective Arduino-based irrigation system for your plants.
Related Posts
Wireless Robotic Arm Car: Raspberry Pi, Arduino, PS2 Controller Project
Introduction:
In this project, we'll combine the power of Raspberry Pi, Arduino Uno, and a PS2 wireless controller to create a versatile robotic arm c...
