Blog
Wireless Robotic Arm Car: Raspberry Pi, Arduino, PS2 Controller Project
Introduction:
In this project, we’ll combine the power of Raspberry Pi, Arduino Uno, and a PS2 wireless controller to create a versatile robotic arm car. This innovative project will showcase the integration of multiple technologies to build a wireless-controlled robot capable of performing various tasks with precision and agility. Let’s dive into the details of this exciting project!
Materials Needed:
Raspberry Pi
Arduino Uno
Robotic Arm Kit
Car Kit
PS2 Wireless Controller
Motor Drivers (for controlling car and robotic arm)
Jumper wires
Breadboard
Power supply (batteries or adapter)
Various screws and nuts for assembly
Project Steps:
1. Assemble the Car Kit:
Begin by assembling the car kit according to the manufacturer’s instructions. This typically involves mounting motors, wheels, and chassis components onto the frame.
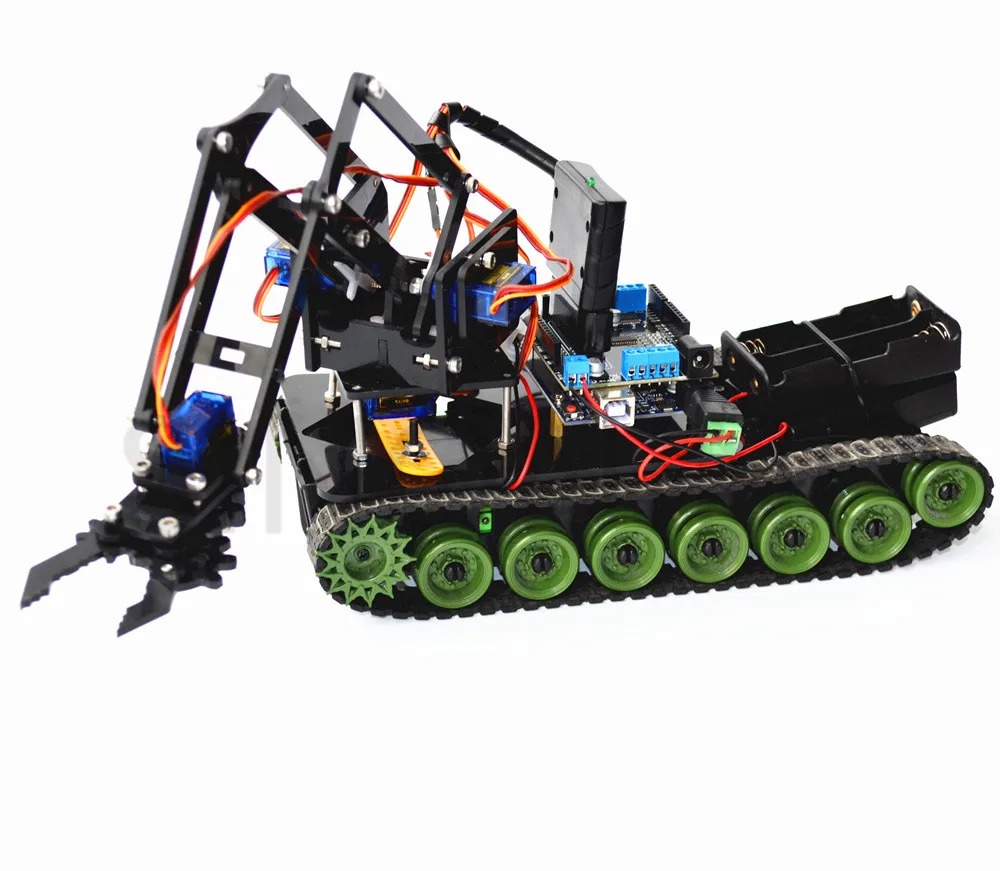
2. Mount the Robotic Arm:
Attach the robotic arm to the car chassis securely using screws and nuts. Ensure that the arm is well-balanced and positioned for optimal functionality.
3. Connect Motors to Arduino Uno:
Wire the motors of both the car and the robotic arm to the Arduino Uno using motor drivers and jumper wires. Follow the wiring diagrams provided with the kits to ensure proper connections.
4. Setup Raspberry Pi and Arduino Communication:
Establish communication between Raspberry Pi and Arduino Uno using serial communication. Write code on both devices to send and receive commands for controlling the motors and robotic arm.
5. Integrate PS2 Wireless Controller:
Connect the PS2 wireless controller receiver to the Raspberry Pi. Write code to interpret the controller inputs and map them to specific commands for controlling the car movement and robotic arm functions.
6. Test and Calibrate:
Test the functionality of the wireless-controlled robotic arm car in a controlled environment. Calibrate the movements of the car and the robotic arm to ensure smooth operation and precise control.
7. Fine-tuning and Optimization:
Fine-tune the control algorithms and parameters to optimize the performance of the robotic arm car. Experiment with different control strategies and configurations to achieve desired results.
8. Optional: Add Sensors and Automation:
Optionally, add sensors such as ultrasonic sensors or cameras to enable obstacle detection and autonomous navigation capabilities. Implement automation features to enhance the versatility and functionality of the robotic arm car.
Conclusion:
By combining Raspberry Pi, Arduino Uno, and a PS2 wireless controller, we’ve created a wireless-controlled robotic arm car capable of performing various tasks with ease. This project highlights the synergy between different technologies and demonstrates the potential for innovation in robotics and automation. Whether for educational purposes or practical applications, this project serves as an exciting example of how creativity and ingenuity can drive technological advancement.